
Part 1: Organize Screenshots
/Organize Your Photos
In this three part photo organizing tutorial, I’d like to share a few methods for better managing screenshots and reference photos that don't actually belong in your main photo library where you keep meaningful photos of family, friends, vacations, special events, artwork and creative projects.
Many photos and screenshots are informational...photos of books, recipes, products you like, things you want to remember and reference. There's a better way to organize these types of images than mixing them in with your most precious photos. The key is to create a new habit of saving them to the Notes app on your iPhone/iPad. If you're using iCloud, the notes will automatically sync to your Mac computer.
This new habit won't require extra time — it will actually save you time and also help you find the information you need more easily.
*NOTE* If either of the following apply to you, visit the blog post on Syncing Notes on iPhone, iPad & Computer:
You're not sure if your Notes are syncing between your iPhone, iPad and Mac computer. I've included instructions for checking your current Notes app setup.
You're using a Windows computer. I've included steps for viewing your notes via iCloud.com.
I’ll begin with how to organize screenshots (Part 1) and reference photos (Part 2) already saved in your Photos app, then I’ll share how to save new informational images directly to the Notes app (Part 3).

Note Your Starting Point
When you begin any photo organizing project you want to measure your progress in order to really see — and celebrate! — the end result. Here’s how to start:
1. Write down the following information:
What is the total number of photos in your Photos app? If your iPhone, iPad and Mac computer are synced via iCloud Photos then this number will be the same on all devices.
What is the total number of screenshots?
2. Set your timer.
Begin with 30 minutes per organizing session and repeat until you’ve organized all your informational images. This sets you up for success and helps keep you on task.
It’s easy to get sidetracked as you discover previously saved information. The quote by A.A. Milne sums this up beautifully, “One of the advantages of being disorderly is that one is constantly making exciting discoveries.” If you begin following something you discovered, remind yourself that you have a specific time period for organizing, so stay focused!
All in all, make it fun and enjoy the progress.
3. Organize on either your iPhone, iPad or Mac computer.
I’ve included instructions for all three devices.
4. To gauge your progress, write down your new totals for photos and screenshots after each photo organizing session. And keep going until you’re finished!
Ask Discerning Questions
As you organize your existing screenshots and reference photos, ask discerning questions before saving them to the Notes app to identify what really matters to you. Here are a few examples:
Is this information still pertinent to me?
Will I buy this product? Have I already purchased it?
Do I feel inspired when I read the quote?
Will I read this book or watch this film?
Does this screenshot/photo add value to my life? Will I actually look at it again?
Will I refer to it in a day, week, month or year? If it’s related to a long-term project, add a reminder to your calendar to review your Notes app quarterly and at that time delete the notes that are no longer necessary.
Create Folders in the Notes App
For informational images that are important to you, create folders in the Notes app to organize existing and future notes. Create the folders on either your iPhone, iPad or Mac computer. Here are the steps:
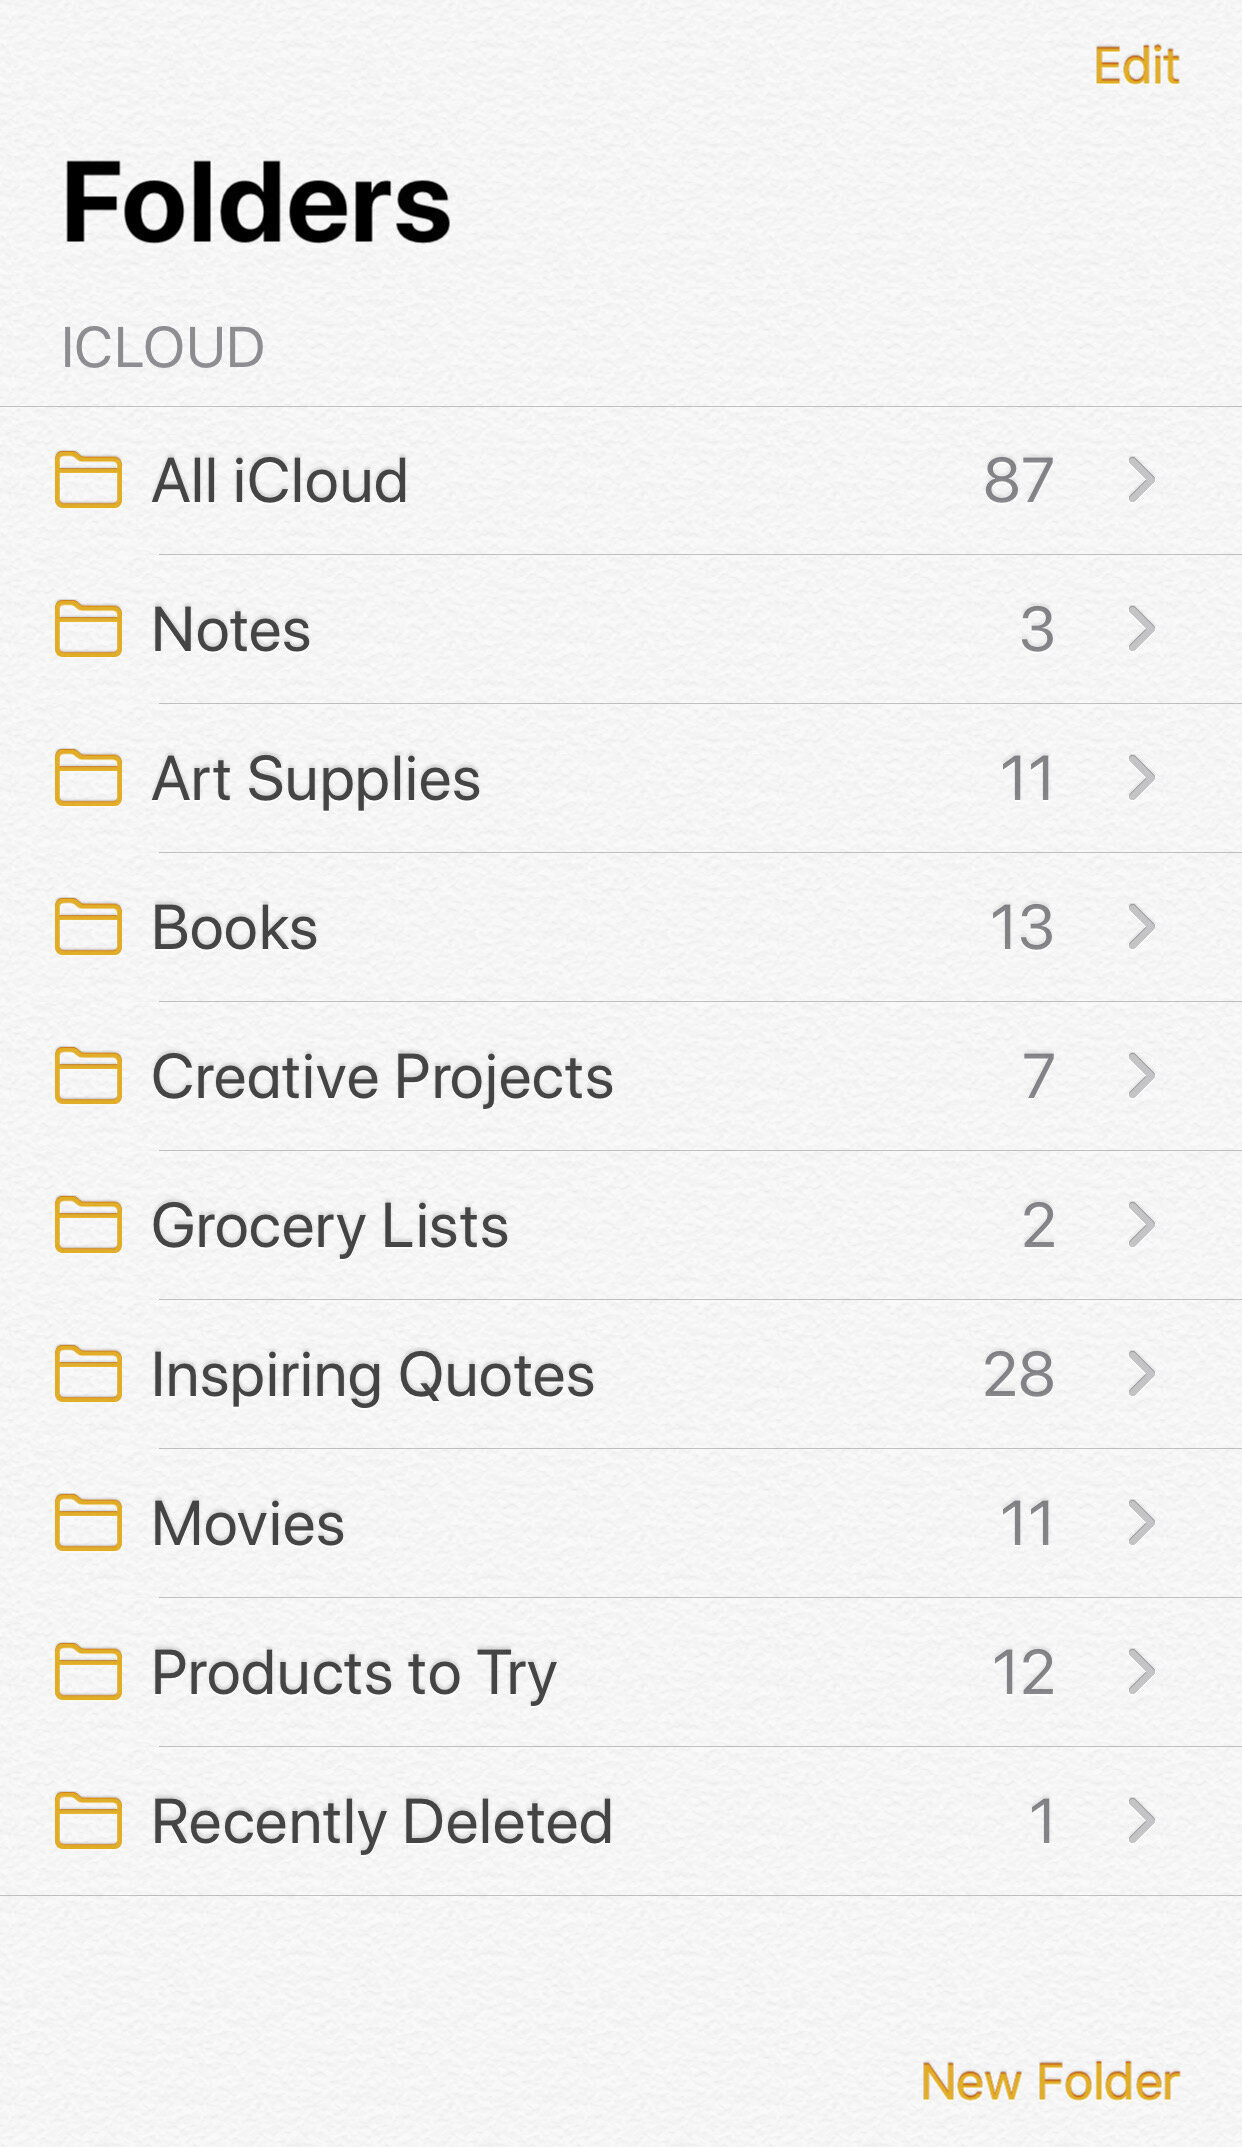
Types of Folders
All iCloud: Includes all notes except notes that have been deleted
Notes: Includes all notes that have not been filed in a folder
iPhone/iPad
Software Version iOS 13 or newer
Open the NOTES app on your iPhone/iPad
To view the list of folders in your Notes app, tap the < (top left corner) several times until you see the FOLDERS view
Tap NEW FOLDER
Type a name for the folder, then tap SAVE (i.e. Books)
Repeat for additional folders

Mac Computer
Software Version 10.14 or newer
Open the NOTES app on your Mac computer
Click NEW FOLDER
Type a name for the folder, then press the RETURN key (i.e. Books)
Repeat for additional folders
Organize Screenshots
With the foundational steps completed, it’s now time to organize screenshots. Choose whether you’re going to work on your iPhone, iPad or Mac computer. Then move all valuable screenshots from the Photos app to the Notes app. Afterwards, delete the screenshots from the Photos app.
Keep in mind that screenshots saved in the Photos app were captured on your iPhone/iPad. Screenshots captured on your Mac computer are saved elsewhere, typically on the Mac’s desktop.

iPhone/iPad
Software Version iOS 13 or newer
View Screenshot
Open the PHOTOS app
Tap ALBUMS icon (at bottom)
Scroll to Media Types
Tap SCREENSHOTS
Tap the first screenshot
Ask discerning questions to help determine if you’re going to delete or keep & file the screenshot.
Delete Screenshot
Tap the Trash icon
Tap DELETE PHOTO
Keep & File Screenshot
Tap the Share icon
Tap NOTES
For Save To, tap NEW NOTE, then tap a folder
Tap CREATE NEW NOTE
Add text to your note. Type one or more keywords describing the screenshot to easily search for it in the future.
Tap SAVE
Delete the screenshot from the Photos app: Tap the Trash icon, then tap DELETE PHOTO
Continue with the next screenshot

Mac Computer
Software Version 10.14 or newer
View Screenshot
Open the PHOTOS app
Locate ALBUMS on the sidebar
Click MEDIA TYPES
Double-click SCREENSHOTS
Scroll to the top
Double-click the first screenshot.
Ask discerning questions to help determine if you’re going to delete or keep & file the screenshot.
Delete Screenshot
Press the following two keys simultaneously: Command + Delete
Keep & File Screenshot
Click the Share icon
Click NOTES
For CHOOSE NOTE, click NEW NOTE
Point to FOLDERS, point to the appropriate folder, then click NEW NOTE
Add text to your note. Type one or more keywords describing the screenshot to easily search for it in the future.
Click SAVE
While viewing the screenshot, delete it by pressing the following two keys simultaneously: Command + Delete
Continue with the next screenshot
Well done! Next week, we'll continue with Part 2.